"Experiencing lag while playing Minecraft? Check out these 5 simple steps to double your FPS on your computer."
Minecraft's deceptively simple visual style conceals a surprisingly demanding technical architecture. Despite its blocky exterior, the Java Edition in particular places significant strain on CPU resources due to its single-threaded chunk generation engine and the JavaScript-like overhead of the JVM (Java Virtual Machine). For players running older hardware — budget laptops, office machines, or aging desktops — achieving a stable, playable frame rate can feel like an impossible challenge. This guide will walk you through every meaningful optimization available in 2026, from quick in-game adjustments to more technical system-level changes.
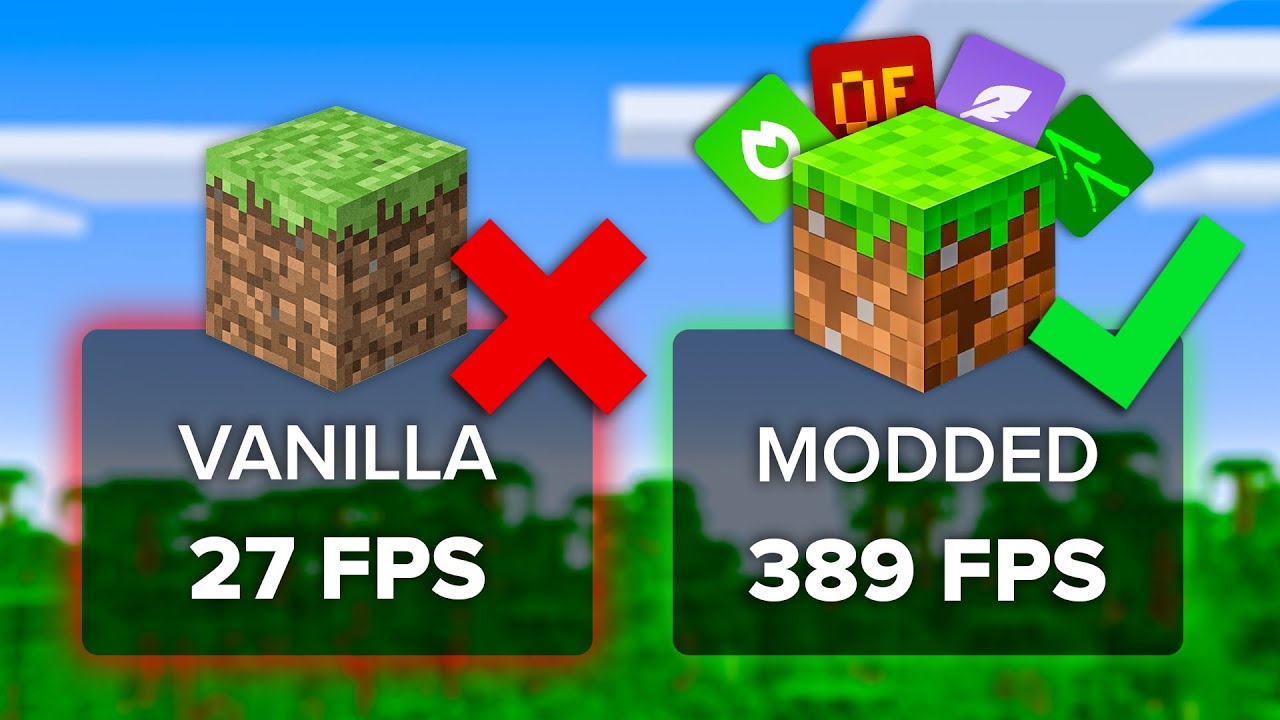
Step 1: Replace the Default Renderer with Sodium or OptiFine
The single highest-impact change you can make to Minecraft's performance is replacing its default renderer with an optimized alternative. OptiFine has been the community standard for over a decade, offering a comprehensive suite of video setting extensions, dynamic lighting options, and connected textures support. However, in 2026, the Sodium mod (designed for the Fabric mod loader) has definitively surpassed it in raw rendering throughput on most hardware configurations.
Sodium rebuilds Minecraft's chunk rendering pipeline from scratch using modern OpenGL practices — specifically, it implements chunk batching and vertex buffer optimization techniques that reduce GPU draw calls by up to 70% compared to the vanilla renderer. In practical terms, players commonly report frame rate improvements of 2x to 4x after switching to Sodium on equivalent hardware.
LF Launcher simplifies this process significantly. When creating a new instance, you can select your preferred Engine (Fabric + Sodium, or Forge + OptiFine) from a dropdown menu, and the launcher will automatically download and install all required components. No manual JAR file management is needed.
For an even more aggressive performance boost, consider adding the following companion mods alongside Sodium: Lithium (server-side game logic optimization), Phosphor (lighting engine optimization), and FerriteCore (memory usage reduction). All four together represent the current gold standard for Java Edition performance.
Step 2: Calibrate Your Video Settings Precisely
Even with an optimized renderer installed, incorrect video settings can dramatically limit your frame rate. Here is a complete breakdown of the most impactful settings and their recommended values for low-end hardware:
- Graphics Quality: Set to Fast. This disables transparent leaves and reduces foliage complexity, which has a noticeable positive impact on frame rate in dense biomes like jungles and forests.
- Render Distance: Begin at 6 chunks. On systems with fewer than 8GB of RAM, going above 8 chunks will cause significant stuttering as the CPU struggles to load new chunk data fast enough. Experiment incrementally to find your stable ceiling.
- Simulation Distance: This setting, introduced in later versions, controls how far from the player the game simulates mob behavior and block updates. Setting this to 5–6 chunks independently of render distance is a major performance gain.
- Smooth Lighting: Disable this entirely on low-end hardware. The ambient occlusion pass it performs adds substantial CPU overhead during chunk rebuilds.
- Clouds: Set to Off. Volumetric or even flat cloud rendering is one of the easiest cuts to make with minimal visual impact.
- Entity Shadows: Disable. Entity rendering is already expensive; shadow casting multiplies this cost.
- Max Framerate: Counter-intuitively, setting this to Unlimited rather than a capped value can improve average frame rate, as it prevents the GPU from entering power-saving states between frame renders.
Step 3: Allocate the Correct Amount of RAM
Minecraft's default JVM launch arguments typically allocate only 2GB of RAM to the game process. This is deeply inadequate for modded play, and even for vanilla Minecraft on larger worlds, it frequently triggers the Java garbage collector — a process that causes the characteristic, rhythmic "stuttering" that many players mistake for a frame rate problem.
As a general rule, allocate RAM according to the following guidelines based on your system's total installed memory:
- 4GB system RAM: Allocate 2GB to Minecraft, leaving the OS adequate breathing room.
- 8GB system RAM: Allocate 3–4GB. This is the sweet spot for a vanilla or lightly modded experience.
- 16GB system RAM: Allocate 4–6GB for heavily modded instances. More than 6GB rarely provides additional benefit and can paradoxically increase GC pause frequency.
In LF Launcher, RAM allocation is controlled through the Instance Settings panel for each game profile. You can also set a global default under Launcher Preferences → JVM Arguments.
Step 4: Update Your Graphics Drivers
This step is frequently underestimated. Modern graphics drivers contain game-specific optimization profiles and, more importantly, patches for bugs in the underlying OpenGL and Vulkan implementations that Minecraft's renderers rely upon. An outdated driver from 2023 may be missing critical optimizations for the rendering techniques that Sodium and Iris use in 2026.
For NVIDIA users, update via GeForce Experience or download directly from NVIDIA's driver portal. For AMD users, use the Radeon Software Adrenalin application. For Intel integrated graphics users, update through Windows Update or the Intel Driver & Support Assistant — Intel has made significant driver-level OpenGL improvements in recent years that benefit Minecraft substantially.
Step 5: Optimize Your Java Runtime Environment
Beyond RAM allocation, advanced JVM flags can measurably improve Minecraft's frame consistency by tuning garbage collection behavior. The following flags, derived from the Aikar's Flags configuration — widely used by server administrators — are highly effective for client-side use as well:
-XX:+UseG1GC -XX:+ParallelRefProcEnabled -XX:MaxGCPauseMillis=200 -XX:+UnlockExperimentalVMOptions -XX:+DisableExplicitGC -XX:G1NewSizePercent=30 -XX:G1MaxNewSizePercent=40 -XX:G1HeapRegionSize=8M -XX:G1ReservePercent=20 -XX:G1HeapWastePercent=5These flags instruct the G1 garbage collector to prioritize short pause times over throughput efficiency — the correct trade-off for an interactive application like a game. LF Launcher allows you to paste custom JVM arguments directly into each instance's configuration panel, making this a straightforward one-time setup.
Choosing Between Java and Bedrock for Performance
If you have exhausted every optimization above and are still struggling for a playable frame rate, it may be worth considering the Bedrock Edition as a permanent alternative. Bedrock is written in C++ rather than Java, which fundamentally eliminates JVM overhead and GC pauses. On equivalent hardware, Bedrock reliably outperforms Java Edition in raw frame rate, often by a substantial margin. LF Launcher supports both editions under a unified interface, allowing you to install and manage Bedrock profiles with the same ease as Java, and to switch between them at will.